
Gutenberg is the codename for the new WordPress editor that was released in WordPress 5.0 back in December 2018. In this post we’ll look at how you can begin to harness the power of the new editor to power-up your technical WordPress Development projects.
Gutenberg brings with it many benefits which we have written about in our previous article.
Embracing Gutenberg as a WordPress Agency
At Make Do, as a custom WordPress development, we have fully embraced Gutenberg, and we love being able to give our clients the flexibility that comes with the new editor and custom blocks.
In this article we will talk about how to build your first ever Gutenberg Block, some of the pre-requisites to doing that. Before we do that I suggest you download the example plugin from GitHub so you can go-ahead and work through the tutorials in this article. If you need our help then one of our flexible WordPress support retainer packages would be recommended.
The Case for JSX
Although it is possible to write a Gutenberg block in just JavaScript, we are going to dive in a little deeper and demonstrate how you would use JSX to write a block.
The reason for this is because although there is less to learn up front when using only JavaScript, as you dive deeper it becomes increasingly hard to read the code.
Take a look at the following and let me know which method you would prefer:
JavaScript
edit: function() {
        return wp.element.createElement( 'p', {}, 'Hello editor.' );
    },
JSX
edit() {
        return <p>Hello editor.</p>;
    },
As you can see, with JSX you get to write ‘normal’ HTML within your code. Unfortunately it does come with a few overheads.
The JSX method is also the method that the majority of people writing for Gutenberg write in use, so if you want to follow other online tutorials, thats the best place to start!
Welcome to the World of JavaScript Transpiling
Transpiling essentially means taking a newer version of JavaScript (such as the functions provided in JSX) and compiling them in a way that browsers that support older versions of JavaScript can read them.
So if you write JSX in your block, the browser will read plane old JavaScript, and nobody will be any the wiser.
You are going to need a few things to get started:A terminal programme (installed by default on most computers)
- Install NodeJS on your machine by visiting the Node website. This installs a version of JavaScript on your machine that can run the commands that you need to transpile your code.
- Access to command line interface. These are built into most computers. On Windows you can use PowerShell, and on MacOS you can use Terminal
- Thats it! There are some other files that need configuring, but will show you what to do with those as the tutorial progresses.
The Structure of a Block
If you haven’t already, download the tutorial files onto your machine. Let’s take a look at the file structure. You should notice several files.
It may seem a little overbearing, but the only files we are concerned about in this tutorial are:
block.jsstyles.css
Everything else has been setup for you. But for those of you that like to dive deep, here is a quick explanation of what each file does.
.bablerc– A configuration file for babel, which is a plugin that does the JSX transpiling.block.js– The main JavaScript file, where we will do all of our Gutenberg block work.package.json– All the dependencies our project needs so that we can compile the code. It also holds the commands that we will use to build the compiled code.plugin.php– A standard WordPress plugin file. It defines the plugin and enqueues the Gutenberg Block.README.md– The Readme file for GitHubscript.js– Our compiled code. This is the transpiled code that we will load into the browserstyles.css– Where we will write all of our CSS to style the block.webpack.config.js– The tool that we use to apply transformations to our JavaScript.
As I say, thats a lot to take in, but for the most part, when they are setup, we can forget about them.
Lets Build our Block
We are going to build a basic ‘Name Badge’ block. It will be a simple block that has two attributes (First Name and Last Name) and is styled so it looks like a clip on name badge.
Open up the Terminal
Once you have installed the tutorial plugin into your WordPress install, open up a command line interface (such as terminal) and cd (change directory) into the plugin.
Your command will look something like this:
cd /path/to/your/wordpress/install/wp-content/plugins/Tutorial-Building-your-First-WordPress-Gutenberg-BlockOnce you have done that, using the npm command (which was installed when you installed NodeJs). Run the following commands:
npm installThis command installs all of the dependencies that are in the package.json file into a folder called node_modules.
Now run the following command:
npm run devThis command will now monitor the block.js file (the main file we will be editing) for changes, and every time you make a change it will transpile it into script.js.
Lets Build Our Block
In block.js the first thing we need to do is use the registerBlockType function to setup our block. But before we can do that, we need to import that function into our block.
Open your favourite editor and type the following:
/**
 * Load WordPress block libraries
 */
const { registerBlockType } = wp.blocks;

/**
 * Register name badge block
 */
export default registerBlockType( 'mkdo/name-badge', {
...
});
We have imported the registerBlockType function, and we have used it to create a block using the namespace ‘mkdo/name-badge’.
Technically we could have just written it as wp.blocks.registerBlockType, meaning we don’t need to extract the function from wp.blocks but as you will see, for some of the JSX code we will write, this makes it more legible.
Note that ... in these examples are demonstrating that code should go in the place, but is sometimes missing so the example is easier to read. Where those ...‘s are in this example, thats where we will define our plugin. The properties we are going to place in this area are as follows:
title– the title of the block.description– the description of the blockcategory– the category that the block will reside in (when you choose your block from the block menu this is where you will find it)icon– The icon for the block. Here we are using a Dashicons icon slug to use the nametag icon.keywords– Three keywords that can be used to search for the block.attributes– The attributes of the block, these are where we will set the dynamic elements of the block.edit– The edit view of the block. This is what the block will look like when we click on it in the Gutenberg editor.save– The save view of the block. This is what the block will look like on the front end of the website.
When we have done, it should look something a little like this:
...
export default registerBlockType( 'mkdo/name-badge', {
	title:       'Name Badge',
	description: 'An example block',
	category:    'widgets',
	icon:        'nametag',
	keywords:   [
		'Name',
		'Badge',
		'Name Badge',
	],
	attributes: {},
	edit: props => {...},
	save: props => {...},
} );
The Edit View
You will notice that next to the edit attribute there is this bit of code:
props => {...}That is the same as writing function( props ){...}, so essentially we are returning a function for our edit view, and props are the properties that we are passing into that function.
Lets first create the attributes we are going to use in this block:
...
attributes: {
	firstName: {
		type: 'string',
	},
	lastName: {
		type: 'string',
	}
},
...
We have simply created two attributes, both string‘s.
Now lets setup the variables in our edit view:
...
edit: props => {
	const {
		attributes: { firstName, lastName },
		className, setAttributes
	} = props;
},
...
What we are doing there is made it so that we can access the firstName and lastName variables by name, by extracting them from the attributes property of the props variable.
The other variables are ‘special’ properties that we will look at later.
Lets finish our edit view now, by returning the HTML that we will use in our name badge:
...
edit: props => {

	const {
		attributes: { firstName, lastName },
		className, setAttributes
	} = props;

	return (
		<section class={ 'name-badge ' + className } >
			<header class="name-badge__header">
				<h1 class="name-badge__title">Hello, my name is:</h1>
			</header>
			<div class="name-badge__main">
				<p class="name-badge__first-name">FirstName</p>
				<p class="name-badge__last-name">LastName</p>
			</div>
		</section>
	);
},
...
This is just standard HTML for our edit view, with one exception. Note the class attribute on the section and the {} brackets? That means that we are going to render JavaScript. And the className variable is a special attribute that lets us dynamically set the className, based on the block name.
If we view the block now, it should look a little like this:
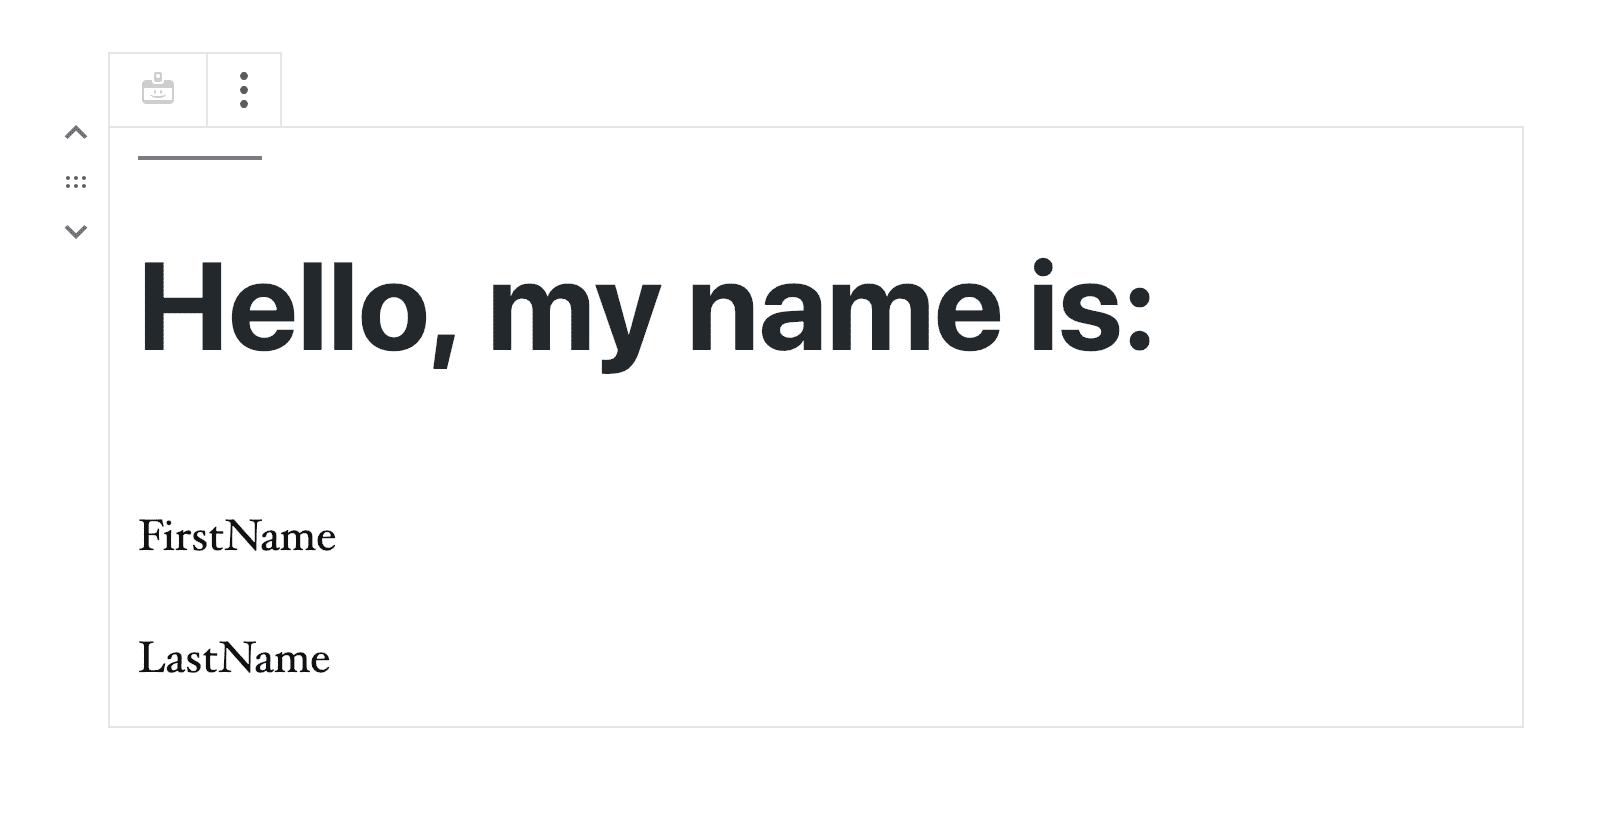
Great! Our first static block!
Talk to Our Technical WordPress Agency Team…
Do you need WordPress Gutenberg or just general WordPress project help? Developing a new WordPress project or updating your existing site can feel like a leap into the unknown if you don’t have the right support in place.
Get in touch with with our WordPress agency team today…